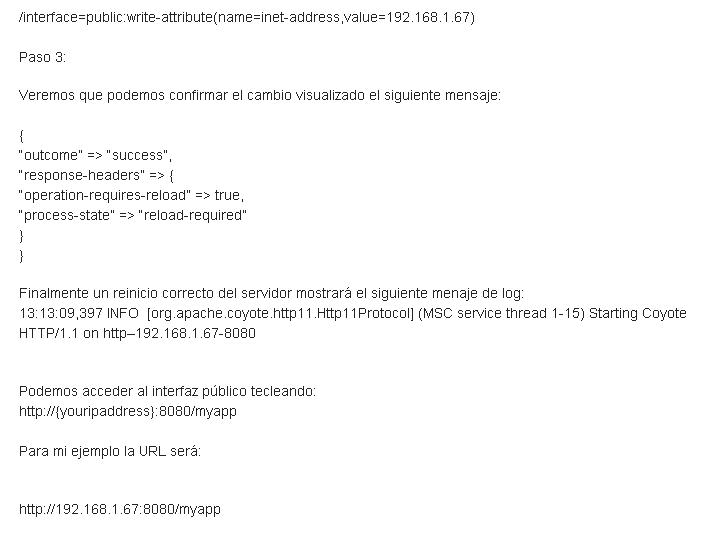
Instalar JBOSS 6.4 GA sobre Red Hat EL 7.2
Mis notas rápidas sobre esta instalación:
Descargas:
-RedHat EL 7.2, iso
- jboss-eap-6.4-CVE-2015-7501.zip
Instalación REL 7.2:
Subida la ISO al Virtual Center realizar la instalación seleccionando antes los paquetes de java y servidor gráfico. Para este caso y estar "cómodo" en el entorno he dado 15GB de HD y 4GB de RAM y 4.
-Creado el usuario UNIX "jboss", contraseña genérica.
-Descargar jboss-eap-6.4-CVE-2015-7501.zip con el usuario JBOSS
-Antes de levantar JBOSS hay que crear un usuario de administración jboss con el siguiente comando:
./add-user.sh
Yo me he creado el usaurio admin-jboss.
-Levantar JBOSS 6.4 GA:
./domain.sh -bmanagement "IP privada de nuestro servidor"
-domain.sh: levanta en version multiservidor, con varias instancias de jboss en memoria (me queda pendiente ver si son instancia java por core. (4 instancias)
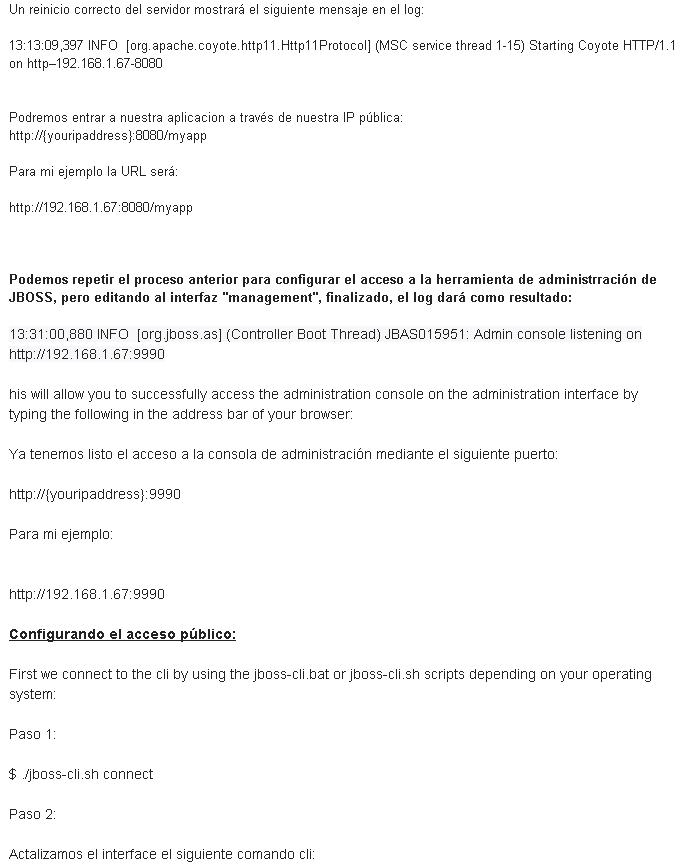
--bmanagement "IP privada de nuestro servidor", le decimos que jboss se levante escuchando en nuestra IP privada y tengamos la consola de administración en dicha IP por el puerto 9990:
http://"IP privada de nuestro servidor":9990
Importante, por defecto RedHat tiene activado el Firewall, podemos desactivarlo o agregar reglas, para este caso he incorporado el puerto tcp 9990 para poder acceder a la consola de administración de JBOSS a traves de otros equipos.

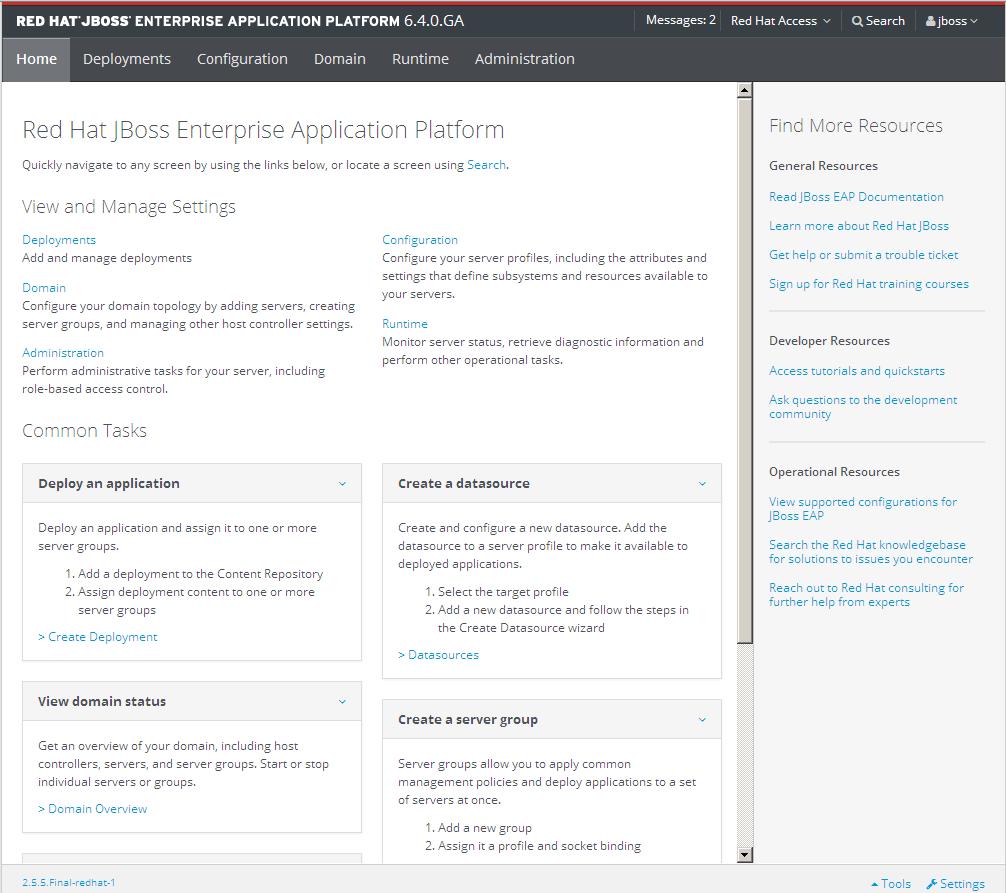
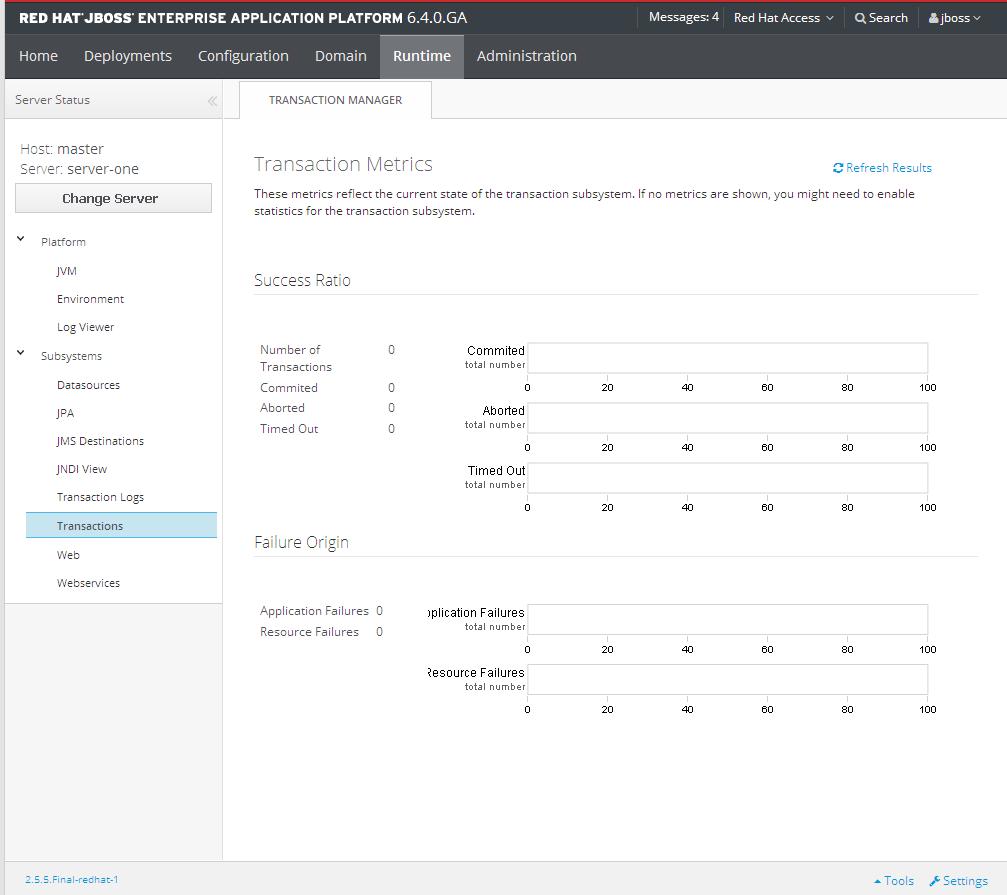
Muy interesante en JBOSS 6.4 GA, la monitorización de nuestra JVM, conexiones a BB.DD, servicios web, etc...


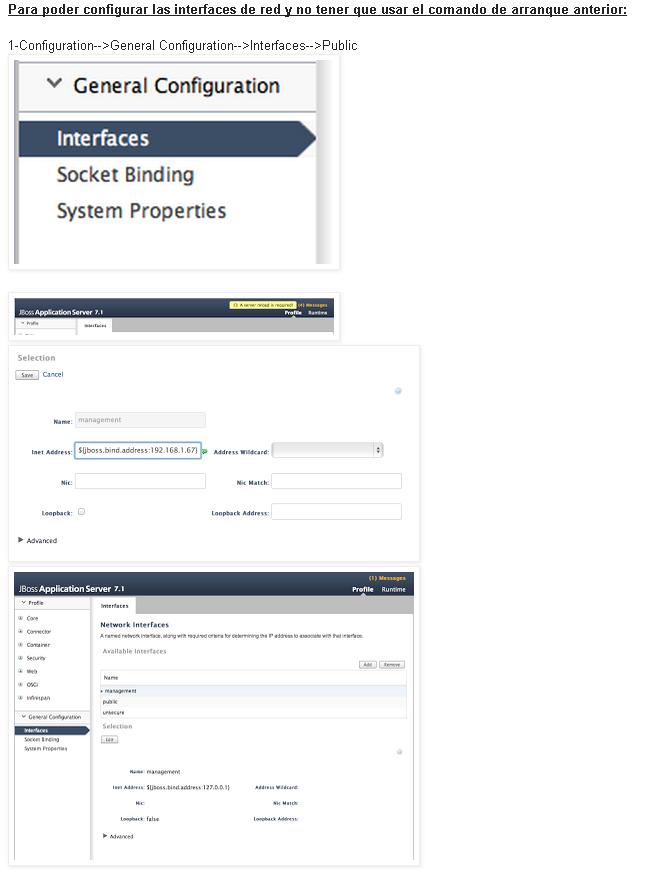
Nota: esta configuración es para el comando "standalone.sh", si arrancamos el comando domain.sh (varias intancias java, segun numero de cores, la configuración será: (domain-->interfaces-->public):

Cómo instalar el driver Oracle en jboss 6.5/7 (Pruebas)
In JBoss AS 7 the DataSource configuration is placed wither inside the “Jboss-as-7.0.1.Final/standalone/configuration/standalone.xml” (if you are running a JBoss standalone profile), or the datasource information is placed inside the “boss-as-7.0.1.Final/domain/configuration/domain.xml” file.Here in this demonstration we will see how to install/register a JDBC Driver in JBoss AS7 and then how to create a DataSource from Admin-Console.
You can have a look at the below article for creating MySql Datasource
How to create MySql DataSource And Install MySql JDBC Driver in JBoss AS7
How to create MySql DataSource And Install MySql JDBC Driver in JBoss AS7
There are two options to install/Register a JDBC Driver to JBoss AS 7.
1). Installing a JDBC driver as a deployment
2). Installing a JDBC driver as a module
1). Installing a JDBC driver as a deployment
2). Installing a JDBC driver as a module
Installing a JDBC driver as a deployment
First we need to check which Jdbc Driver are we using? Is it a JDBC 4-compliant driver or a Non-JDBC 4 -compliant driver? Any JDBC 4-compliant driver will automatically be recognized and installed into the system by name and version. A JDBC 4-compliant JAR is identified using the Java service provider mechanism. It contains a text a file named “META-INF/services/java.sql.Driver”, which contains the name of the class(es) of the Drivers which exist in that JAR.
If the driver is already JDBC4-comliant then you can directly deploy it inside the “jboss-as-7.0.1.Final/standalone/deployments” based on the mode which you are using to run your JBoss AS.
Dealing with Non JDBC 4 -compliant Drivers:
If your JDBC Driver is NOT JDBC 4-compliant then we can update the driver using “jar” utility by adding the “META-INF/services/java.sql.Driver” inside it. as following:
Step1). Create a directory somewhere in your file system like “/home/userone/testDriver”
Step2). Place your Non-JDBC 4 compliant driver in this directory “/home/userone/testDriver” suppose your Driver Jar name is “YourJdbcDriver.jar”
Step3). Now create “META-INF/services” directory inside “/home/userone/testDriver”
Step4). Create a file with name “java.sql.Driver” inside “/home/userone/testDriver/META-INF/services” directory and then add the fully qualified name of your JDBC Driver class in this file.
Step5). use the jar utility with -u (means update) option to add the META-INF directory with the above contents in it as following
1
| jar -uf YourJdbcDriver.jar META-INF/services/java.sql.Driver |
Now you can take your JDBC Driver and then place it inside the “${JBOSS_AS7}/standalone/deployments”.
The advantage of deploying the JDBC Driver as a deployment in “domain” mode is that the deployments are automatically propagated to all servers to which the deployment applies, so the administrator need not to worry about the the JDBC Driver distribution every time.
The advantage of deploying the JDBC Driver as a deployment in “domain” mode is that the deployments are automatically propagated to all servers to which the deployment applies, so the administrator need not to worry about the the JDBC Driver distribution every time.
Installing a JDBC driver as a module
This is another option to install the JDBC Driver as a module. Which requires that we define a new module for our JDBC Driver inside “${JBOSS_AS7}/modules” directory as following:
Suppose if we want to install the Oracle JDBC Driver (ojdbc6.jar) then we will need to do the following steps:
Step1). Create a directory “oracle/jdbc/main” inside the “jboss-as-7.0.1.Final/modules” directory.
Step2). paste your “ojdbc6.jar” oracle Jdbc Driver inside “jboss-as-7.0.1.Final/modules/oracle/jdbc/main” directory.
Step3). Create a file “module.xml” inside “jboss-as-7.0.1.Final/modules/oracle/jdbc/main” as following:
1
2
3
4
5
6
7
8
9
10
| <module xmlns="urn:jboss:module:1.0" name="oracle.jdbc"> <resources> <resource-root path="ojdbc6.jar"/> </resources> <dependencies> <module name="javax.api"/> <module name="javax.transaction.api"/> </dependencies></module> |
Step4). Now open your “jboss-as-7.0.1.Final/standalone/configuration/standalone.xml” file or “jboss-as-7.0.1.Final/domain/configuration/domain.xml” file and then add the driver declaration tag refering to your module as following, by default you will see the driver declaration tag already contains the declaration for :
1
2
3
4
5
6
7
8
| <drivers> <driver name="OracleJDBCDriver" module="oracle.jdbc" /> <driver name="h2" module="com.h2database.h2"> <xa-datasource-class> org.h2.jdbcx.JdbcDataSource </xa-datasource-class> </driver></drivers> |
Here we declared the
Step5). Create a DataSource in your JBoss AS 7 and then in the Driver section you can refer to this Module name “oracle.jdbc”
Creating a DataSource from JBoss AS 7 Admin Console
Step1). After installing the JDBC Driver as mentioned above start your JBoss AS 7 and then login to the admin-console from URL: “http://localhost:9990/console” (as admin/admin credentials)
Step2). From left hand panel of the console click on “Connectors—>DataSources”
Step2). From left hand panel of the console click on “Connectors—>DataSources”

Creating Oracle DataSource in AS7
Step3). In the right side panel you will see a button “Add” click on this button.
Step4). In Wizard “Step 1/3: Datasource Attributes”
Enter the DataSource Name as “OracleDS”
Enter JNDI Name as “java:/OracleDSJNDI” or “java:jboss/OracleDSJNDI” (NOTE the valid DataSource name should start with either java:/ or with java:jboss/ prefix)
Step4). In Wizard “Step 1/3: Datasource Attributes”
Enter the DataSource Name as “OracleDS”
Enter JNDI Name as “java:/OracleDSJNDI” or “java:jboss/OracleDSJNDI” (NOTE the valid DataSource name should start with either java:/ or with java:jboss/ prefix)

DataSource name & JNDI Name
Step5). Now in the next Section “Step 2/3: JDBC Driver” you will see all the installed drivers details. in above case as we already registered oracle driver as a module “OracleJDBCDriver” in previous section so we will be able to see the details as following:

Registered Jdbc Drivers List
Step6). In next section “” provide the Database url (jdbc:oracle:thin:@10.10.10.10:1521:DB_SID) ,username and password

Specifying DataSource properties
Step7). you will see following kind of messae in your JBoss AS 7 console output:

DataSource Details
1
| 10:50:32,330 INFO [org.jboss.as.connector.subsystems.datasources] (MSC service thread 1-6) Bound data source [OracleDSJNDI] |

Comentarios